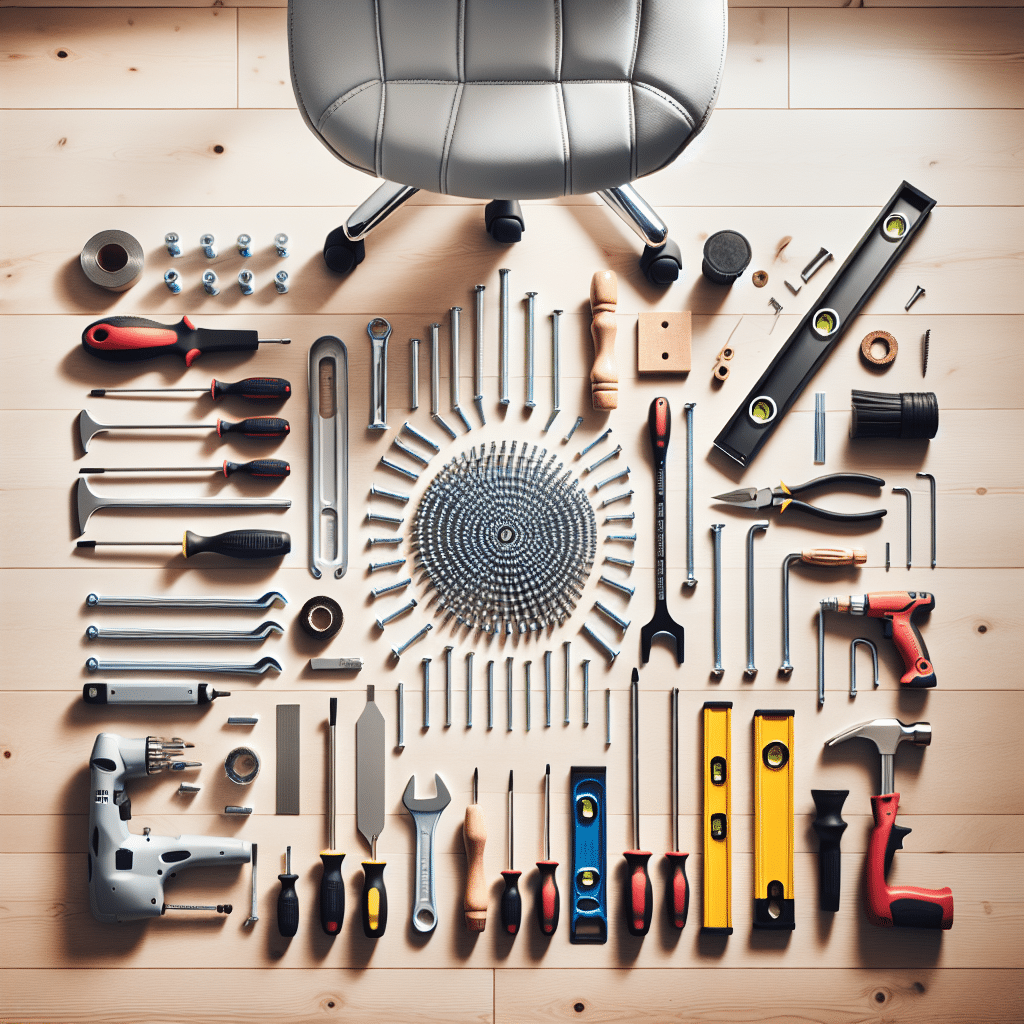
Essential Tools for Assembling Your Ergonomic Chair
Ergonomic chairs are designed to enhance comfort and support during extended periods of sitting. When it comes to assembling your ergonomic chair, having the right tools is crucial for ensuring a smooth process and achieving optimal results. Below is a detailed look at the essential tools you will need to assemble your ergonomic chair efficiently.
1. Screwdriver Set
A comprehensive screwdriver set is vital for any assembly task, particularly when putting together an ergonomic chair. Here are the types of screwdrivers you may need:
-
Phillips Head Screwdrivers: Most ergonomic chairs use Phillips screws due to their design, which allows for better grip and torque. Ensure that you have multiple sizes to accommodate different screw types.
-
Flat Head Screwdrivers: While less common in chair assembly, flat head screwdrivers may be required for certain components. It’s wise to have one or two handy.
-
Precision Screwdrivers: In cases where smaller screws are involved, particularly in armrests or adjustments, precision screwdrivers come in handy.
2. Allen Wrench/Hex Key
Many modern ergonomic chairs use hex screws for their assembly. An Allen wrench or hex key is essential for these types of screws. Often, ergonomically designed chairs come with an Allen wrench included in the packaging, but having a set that includes various sizes allows for flexibility in assembly.
3. Pliers
Pliers are versatile tools that can assist in gripping and twisting components together. Here’s how they can be useful:
-
Needle-Nose Pliers: These can help in reaching awkward spots and tightening screws or nuts in tight areas.
-
Standard Pliers: Useful for gripping larger nuts or bolts that may require additional leverage to tighten.
4. Rubber Mallet
A rubber mallet can be useful when certain components need to be fitted together firmly, yet without damage. If parts are resistant to joining, a gentle tap with a rubber mallet can help fit them without marking the surfaces. This is especially useful for connecting the base to the seat or the backrest.
5. Level
When assembling your ergonomic chair, it’s crucial that the height and alignment are just right to provide optimal support. Using a level can help ensure that the seat and backrest are properly aligned. This tool will help you avoid the discomfort that comes from uneven seating.
6. Measuring Tape
Measuring tape assists in ensuring that the components of your ergonomic chair are fitted correctly. While this may seem straightforward, having accurate measurements can make a significant difference in comfort and functionality, especially if your chair has adjustable features.
7. Wrench Set
For ergonomic chairs that feature large bolts or nuts, a wrench set can be invaluable. Here’s how to use it effectively:
-
Socket Wrench: A socket wrench allows for quick tightening without needing to reposition a regular wrench constantly.
-
Adjustable Wrench: An adjustable wrench can handle a variety of bolt sizes, which provides flexibility during assembly.
8. Torque Wrench
Some ergonomic chairs may require a specific torque setting for the assembly of key components. A torque wrench ensures that screws and bolts are tightened to the recommended levels, preventing over-tightening, which could damage the components or compromise the chair’s ergonomic features.
9. Safety Glasses and Gloves
While not directly related to the technical assembly, safety glasses and gloves are recommended for personal protection. Safety glasses protect your eyes from small particles during assembly, while gloves can provide grip and protection when handling sharp or heavy components.
10. Cleaning Cloth
Finally, having a cleaning cloth handy helps maintain the aesthetic quality of your new ergonomic chair. Dusting off components before assembly ensures that any dirt doesn’t scratch or mar the finish.
Preparation Tips
Before starting, lay out all the components and identify the tools required for specific parts of the assembly. This can streamline the process, allowing you to work more efficiently and avoid any frustration.
Organizational Tools
You might find it useful to keep a few organizational tools on hand:
-
Toolbox or Organizer: Keeping tools organized in a container or toolbox can save time searching during the assembly process.
-
Parts Tray: A small tray or container can help keep screws, bolts, and small parts sorted, preventing loss and ensuring that you have all necessary components within arm’s reach.
Assembly Steps
Once you have gathered your tools, follow the assembly instructions provided with your ergonomic chair. Typically, the steps will include:
- Assembling the Base: Using the appropriate tools, attach the wheels or casters to the base.
- Attaching the Gas Lift: Insert the gas lift into the base and secure it as per instructions.
- Securing the Seat: Attach the seat to the gas lift, ensuring it sits securely.
- Attaching the Backrest: Secure the backrest to the seat using the screws and relevant tools.
- Finishing Touches: Add any additional features like armrests or lumbar support.
Final Adjustments
After assembly, ensure that all parts are secure and make adjustments to height and tilt settings for optimal ergonomic benefit.
In conclusion, having these essential tools ensures that assembling your ergonomic chair becomes a streamlined and enjoyable experience. Ensuring you work systematically can lead to enjoying the full benefits of your ergonomic investment promptly.