Understanding Your Ergonomic Chair Components
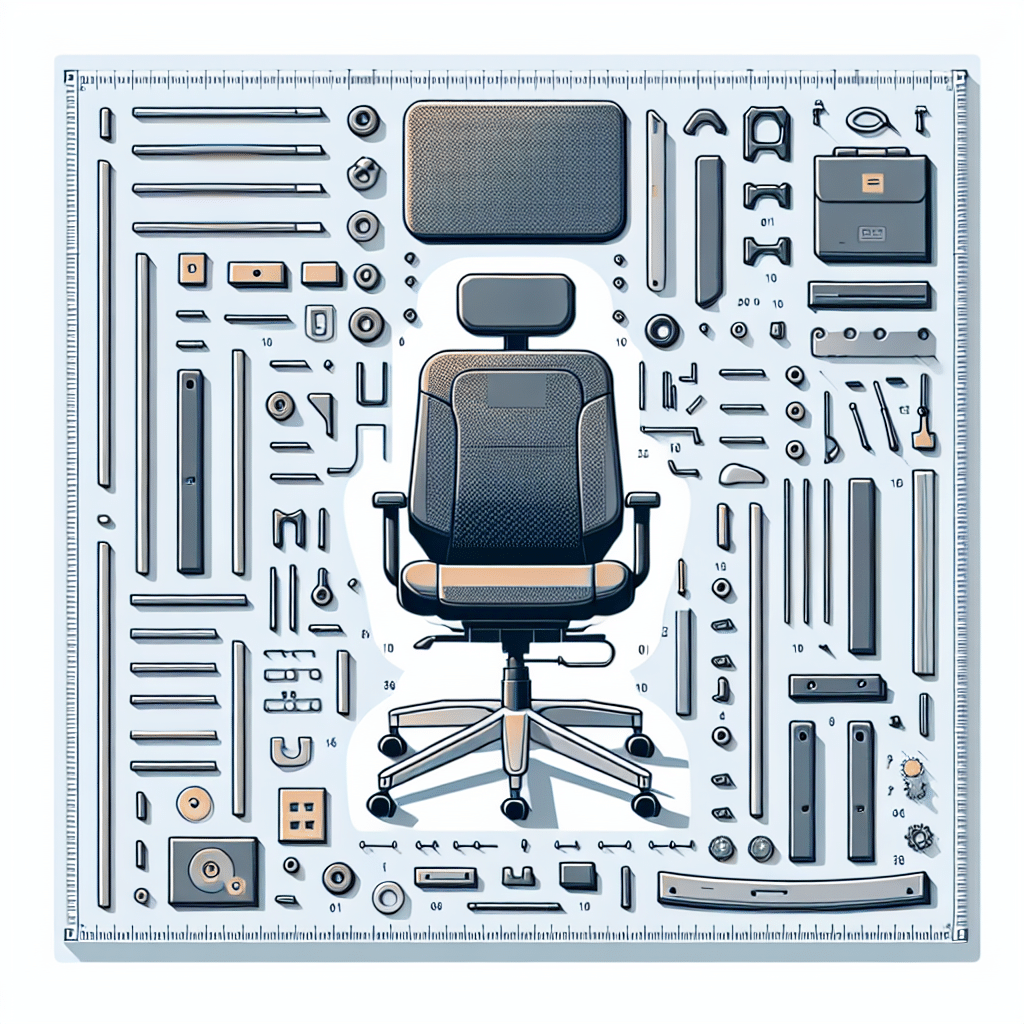
When you purchase an ergonomic chair, it typically comes disassembled to save space and reduce shipping costs. To make the assembly process smoother, it’s important to familiarize yourself with the components included in the package. Typically, an ergonomic chair will include:
- Seat Cushion
- Backrest
- Armrests
- Base with Casters
- Gas Lift Cylinder
- Support Frame
- Adjustment Mechanisms (Tilt, Height, etc.)
- Tools (if necessary)
Essential Tools for Assembly
Although many chairs come with the necessary tools included in the package, having your own tools can expedite the assembly process. Here’s a checklist of tools you may need:
- Phillips Screwdriver
- Allen Wrench (Hex Key)
- Flathead Screwdriver (optional)
- Pliers (optional)
- Rubber Mallet (optional)
Step-by-Step Assembly Instructions
Step 1: Prepare Your Workspace
Choose a spacious area where you can comfortably move around. Lay out all parts of the chair and ensure that you have all components, including screws, washers, and tools within reach. Remove any packaging materials that may interfere with assembly.
Step 2: Assemble the Base
Start by assembling the chair’s base. This generally consists of the legs and the caster wheels:
- Insert Casters: Take the caster wheels and insert them into each leg of the chair base. Ensure they click into place for a secure fit.
- Attach Legs to Center Hub: If the base has a center hub, use the provided screws to attach each leg to the hub. Tighten them appropriately but avoid overtightening to prevent damage.
Step 3: Install the Gas Lift Cylinder
Next, install the gas lift cylinder, which is responsible for height adjustment:
- Insert the Cylinder: Place the gas lift cylinder in the center hole of the base.
- Secure the Cylinder: Press down firmly until it is securely fitted. Aim for a tight fit, as this will allow it to function effectively.
Step 4: Attach the Seat
Now, let’s move on to attaching the seat cushion:
- Position the Seat: Take the seat cushion and flip it upside down.
- Line Up Brackets: Align the brackets of the seat cushion with the fixed nuts on the gas lift assembly.
- Secure the Seat: Use the screws or bolts provided to fix the seat cushion onto the gas lift assembly. Some chairs may have sliding mechanisms for ease of attachment—including a quick-release lock.
Step 5: Attach the Backrest
Now, turn your attention to the backrest:
- Align the Backrest: Line up the backrest with the mounting points on the rear side of the seat.
- Secure the Backrest: Again, use the screws provided to attach the backrest firmly. Ensure it is securely fastened for stability.
Step 6: Install Armrests
If your ergonomic chair includes armrests, installing them is typically straightforward:
- Identify Armrest Locations: Locate the necessary holes on either side of the seat where the armrests will fit.
- Attach the Armrests: Align each armrest with the mounting points and secure them using the screws provided. Ensure they are not overly tight, as this may inhibit their adjustable mechanism, if available.
Step 7: Adjust the Mechanisms
Depending on the model, you may now need to adjust various components to customize your chair:
- Tilt Mechanism: If your chair has a tilt feature, adjust it according to your comfort level. Most mechanisms have a lever or knob located beneath the seat.
- Height Adjustment: Test the gas lift cylinder by sitting on the chair and using the lever to adjust the height to your preference.
- Lumbar Support: If your chair has adjustable lumbar support, modify it to fit the curve of your back.
Final Checks
With the chair fully assembled, it’s time to conduct a few final checks to ensure all components function as intended:
- Stability Test: Ensure the chair feels stable and secure by gently rocking back and forth.
- Adjustments Test: Test all adjustable features, including height, armrest position, and tilt mechanism.
Maintenance and Care Tips
To extend the life of your ergonomic chair, regular maintenance will be necessary:
- Cleaning: Wipe down fabric surfaces using a damp cloth and mild detergent; avoid harsh chemicals that could damage materials.
- Tightening Screws: Periodically check and tighten screws as needed to ensure the structure remains secure.
- Lubrication of Moving Parts: Inspect and lubricate moving parts (like casters) with a silicone spray or appropriate lubricant to ensure smooth operation.
Troubleshooting Common Issues
In case you encounter problems, here are some common issues and potential solutions:
- Wobbling Seat: Ensure all screws are tightened adequately; check that the gas lift cylinder is correctly seated in the base.
- Unresponsive Height Adjustment: This may indicate a faulty gas lift; consider replacing it if issues persist.
- Armrests Not Adjusting Properly: Inspect for any obstructions; sometimes dirt accumulates in the adjustment mechanisms.
Ergonomic Positioning Tips
Once your chair is set up, consider the following ergonomic guidelines for optimal use:
- Monitor Height: Your computer monitor should be at or slightly below eye level.
- Feet Placement: Feet should be flat on the ground or on a footrest, knees at a 90-degree angle.
- Wrist Position: Keep your wrists in a neutral position while typing.
The Importance of Ergonomics
Investing effort into assembling an ergonomic chair not only enhances your comfort but also contributes to your long-term health. Proper seating arrangements can prevent repetitive strain injuries and improve focus and productivity.